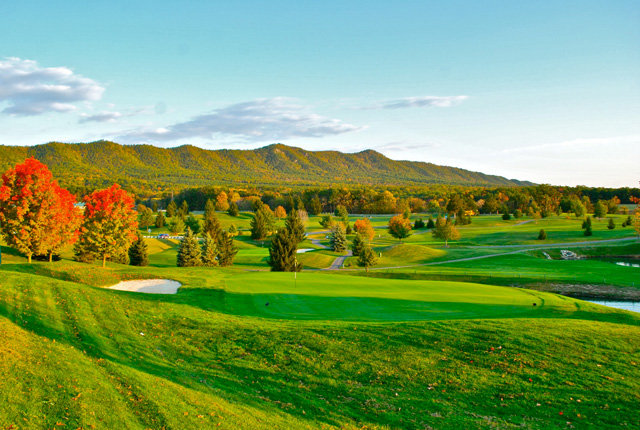
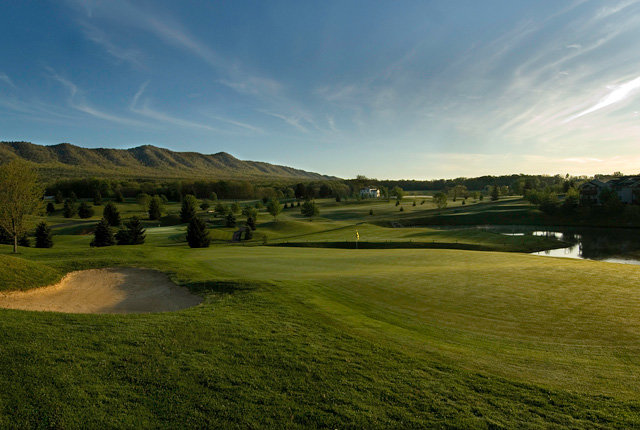
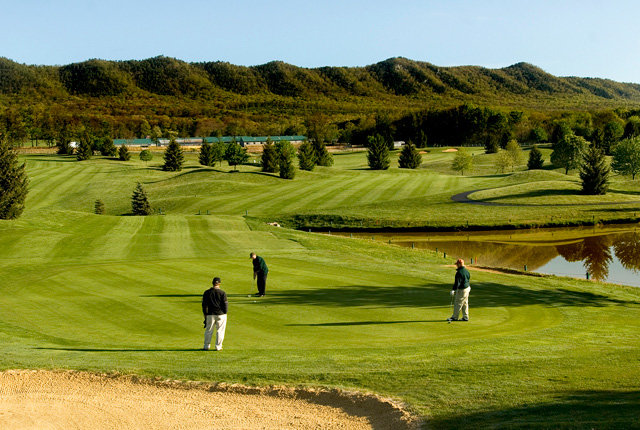
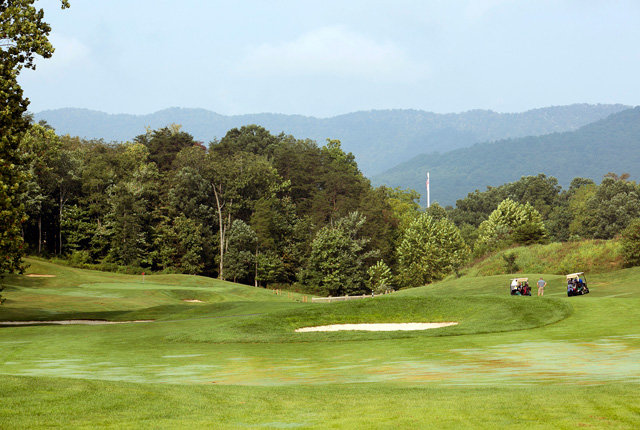
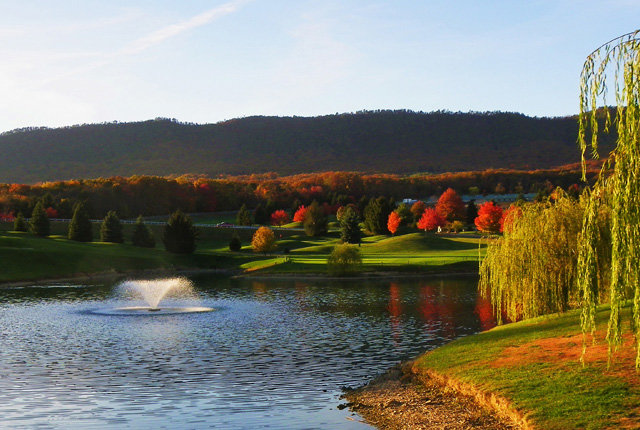
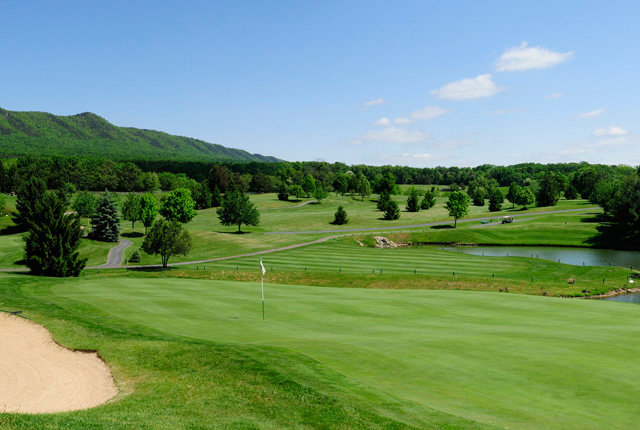
Course Layout
Course Layout
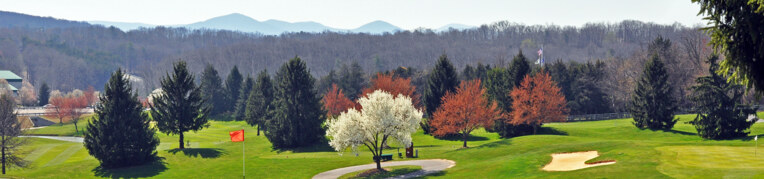
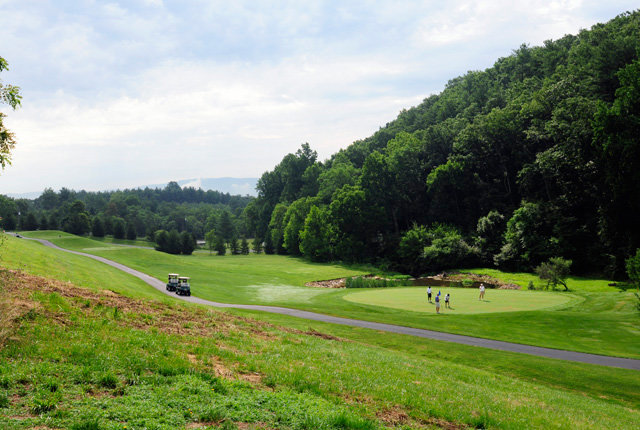
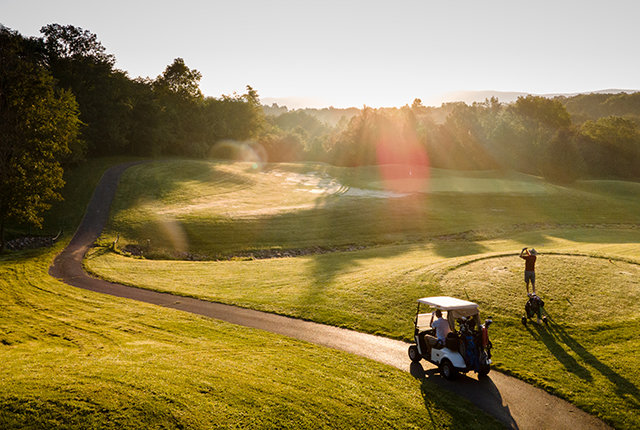
Woodstone Meadows Golf Course®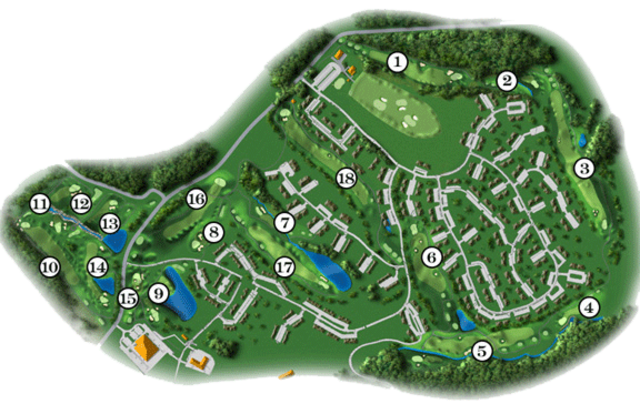
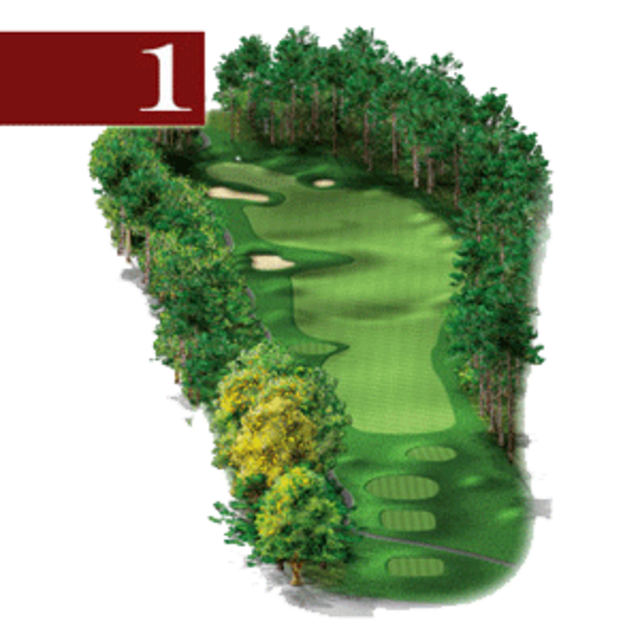
| Hole 1 |
|---|
| Par: 4 | Blue: 366 | White: 320 | Red: 215 |
| Junior Gold: 168 | Junior Blue: 55 |
This tight, downhill par 4 is tree lined from tee to green. An accurate tee shot will leave a short iron approach for an opening birdie opportunity.
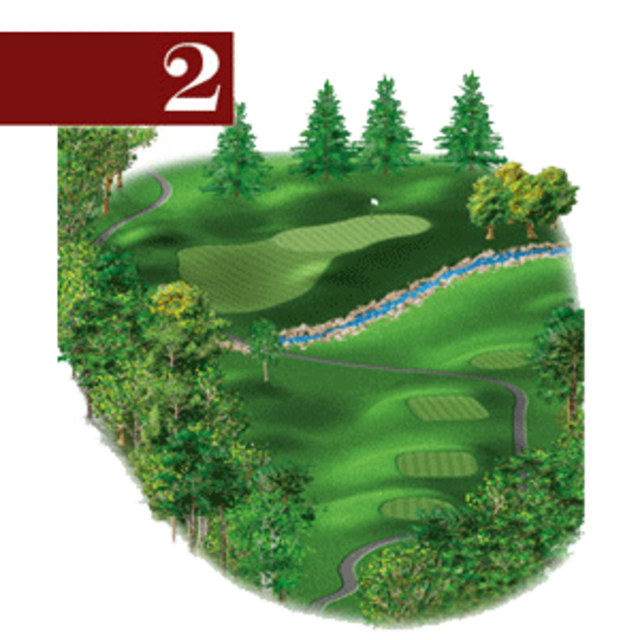
| Hole 2 |
|---|
| Par: 3 | Blue: 174 | White: 141 | Red: 108 |
| Junior Gold: 77 | Junior Blue: 55 |
A downhill par 3 that plays to a wide open green. Club selection is the most important decision you will make on this hole. Trouble lies short and right.
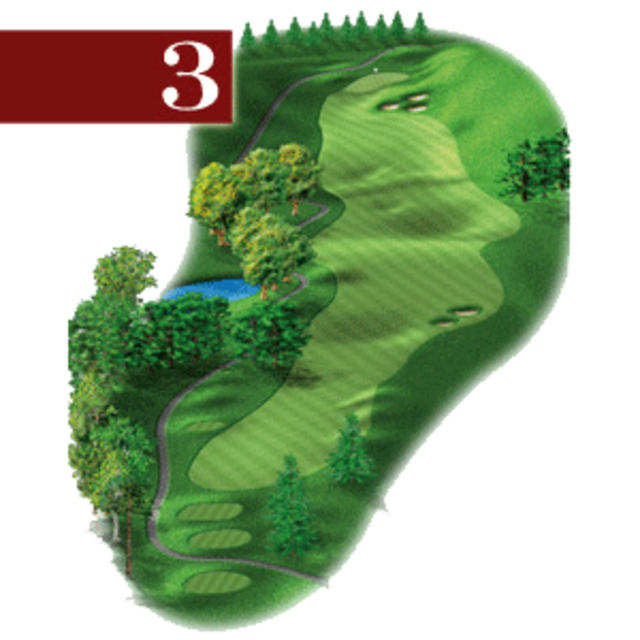
| Hole 3 |
|---|
| Par: 5 | Blue: 501 | White: 458 | Red: 398 |
| Junior Gold: 335 | Junior Blue: 176 |
A possible eagle lies in wait for the longer hitters. An accurate tee shot avoiding the two small fairway bunkers will leave an easy approach to this stadium green setting.
| Hole 4 |
|---|
| Par: 3 | Blue: 140 | White: 115 | Red: 89 |
| Junior Gold: 86 | Junior Blue: 52 |
A large pond on the left guards this downhill par 3. A tee shot played to the center of the green will reward you with an easy par.
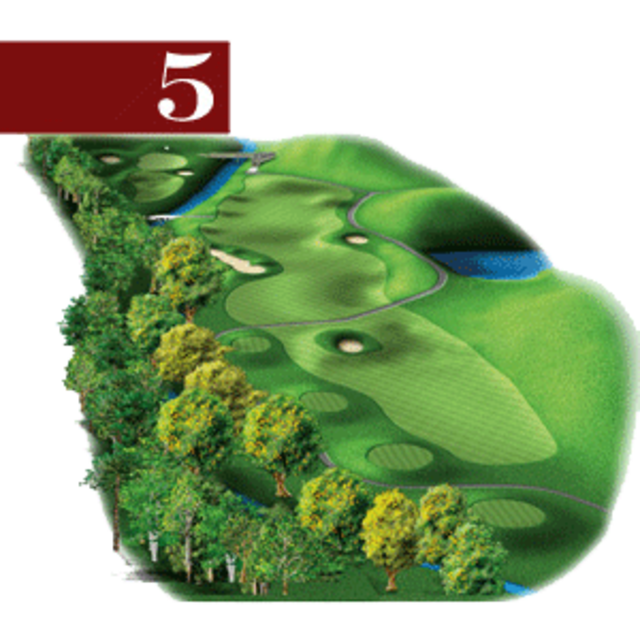
| Hole 5 |
|---|
| Par: 4 | Blue: 400 | White: 357 | Red: 264 |
| Junior Gold: 225 | Junior Blue: 189 |
Our most challenging par 4 requires a tee shot that will find this narrow winding fairway. The approach shot will play longer than expected to this elevated green. Par is an excellent score here.
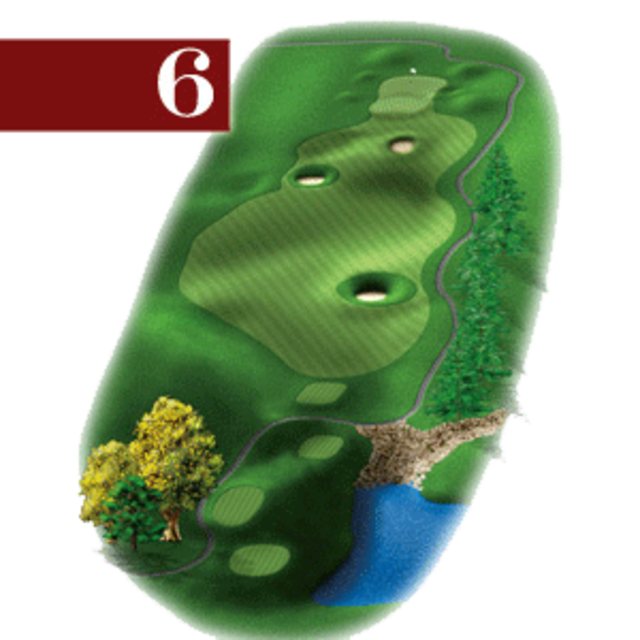
| Hole 6 |
|---|
| Par: 4 | Blue: 328 | White: 284 | Red: 218 |
| Junior Gold: 185 | Junior Blue: 117 |
Options abound off this tee box. Longer hitters may want to scale it back so as not to bring the well-placed fairway bunkers into play. Approach shots into this elelevated two-tiered green will place importance on club selection.
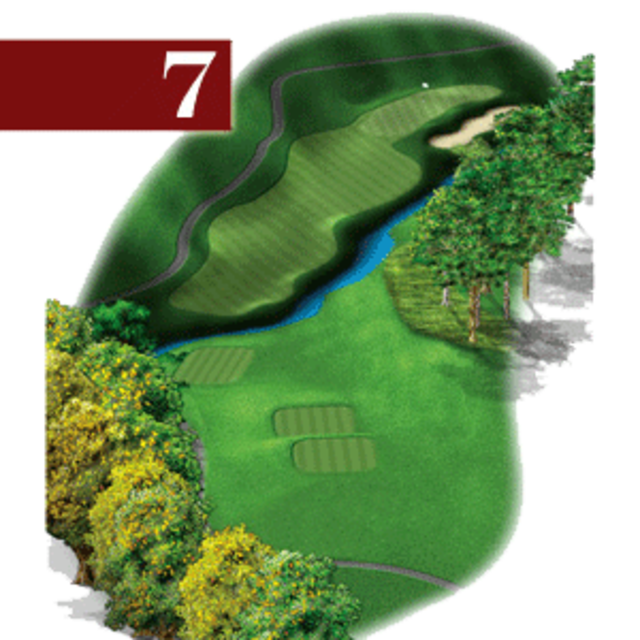
| Hole 7 |
|---|
| Par: 3 | Blue: 177 | White: 152 | Red: 122 |
| Junior Gold: 91 | Junior Blue: 71 |
Trouble is found on the right-side of this downhill, scenic two-tiered par 3. Check flag placement before selecting the proper club. For a back pin placement, add at least one more club.
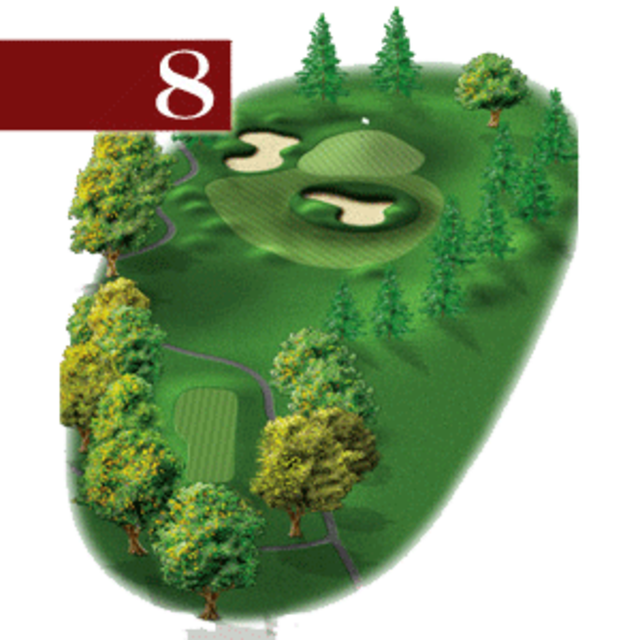
| Hole 8 |
|---|
| Par: 3 | Blue: 148 | White: 130 | Red: 115 |
| Junior Gold: 64 | Junior Blue: 46 |
Do not ruin a good front-nine by shorting yourself here. Bunkers short and left, along with trouble long, make this elevated par 3 a real front-nine breaker.
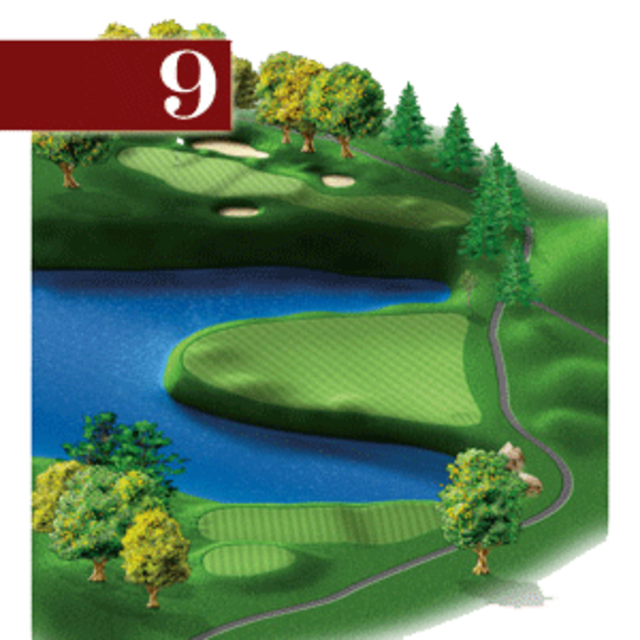
| Hole 9 |
|---|
| Par: 3 | Blue: 190 | White: 171 | Red: 110 |
| Junior Gold: 86 | Junior Blue: 57 |
The Signature Hole here at Woodstone Meadows may play with your mind showing its beauty and difficulty. Tee shots need to be played to the proper shelf of this three-tiered green. Shots missing the green make for a very difficult up and down.
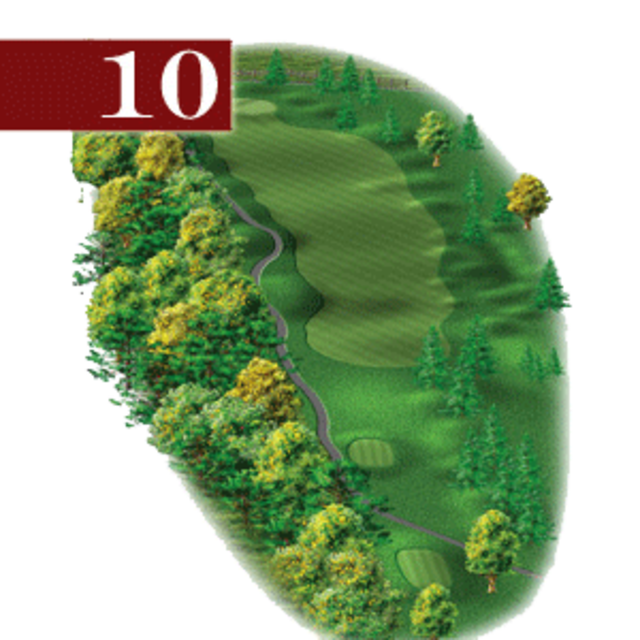
| Hole 10 |
|---|
| Par: 4 | Blue: 385 | White: 369 | Red: 314 |
| Junior Gold: 208 | Junior Blue: 95 |
To start your inward nine, a good solid tee shot will leave a mid to short iron onto this straight away, uphill par 4. Trouble long or left awaits errant shots.
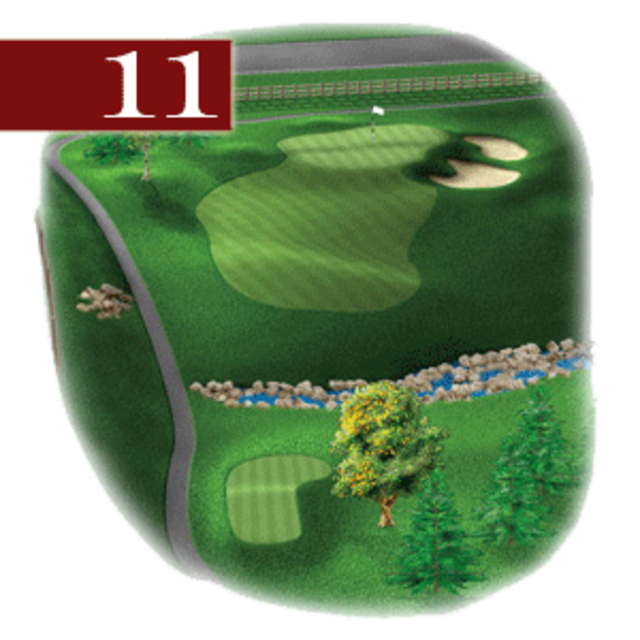
| Hole 11 |
|---|
| Par: 3/4 | Blue: 165 | White: 153 | Red: 138 |
| Junior Gold: 132 | Junior Blue: 132 |
The first par 3 on the back-nine requires an accurate tee shot to this elongated two-tier green. Proper club selection is essential for an easy par.
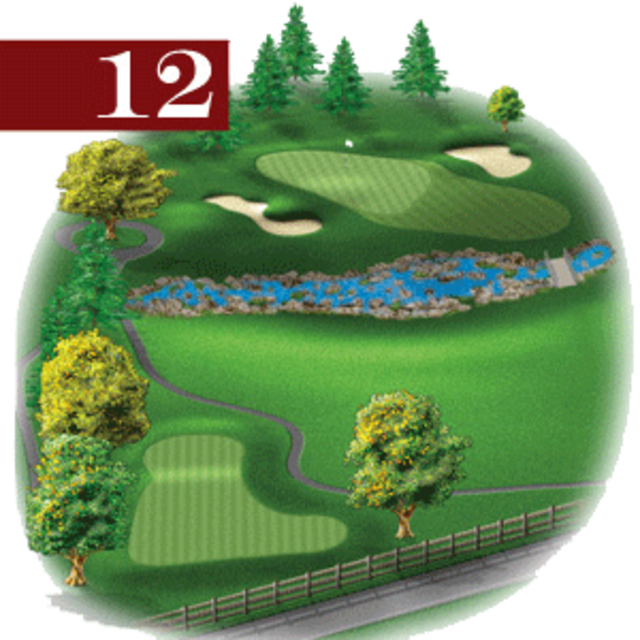
| Hole 12 |
|---|
| Par: 3 | Blue: 160 | White: 136 | Red: 122 |
| Junior Gold: 68 | Junior Blue: 63 |
Don't let this short par 3 fool you! Two large bunkers and a rock creek fronting the green must be negotiated to find the putting surface here.
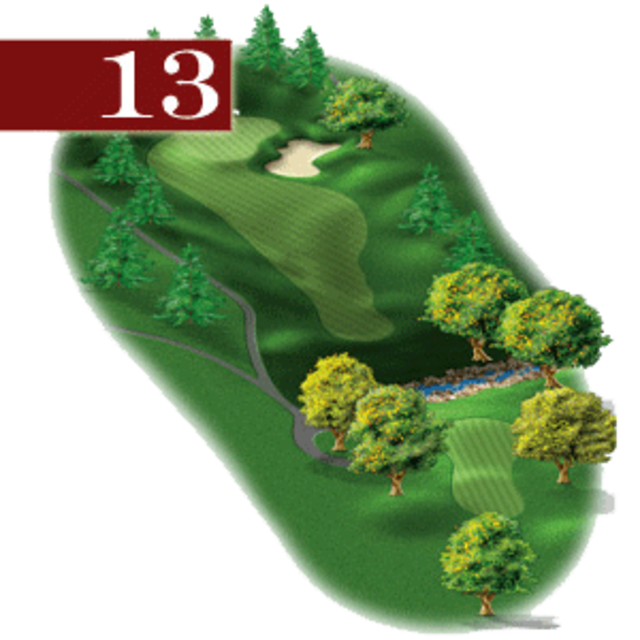
| Hole 13 |
|---|
| Par: 3 | Blue: 172 | White: 150 | Red: 140 |
| Junior Gold: 91 | Junior Blue: 61 |
A par 3 offers players a stadium feel. A tee shot finding the putting surface is essential to making par on this well guarded green.
| Hole 14 |
|---|
| Par: 4 | Blue: 387 | White: 316 | Red: 260 |
| Junior Gold: 112 | Junior Blue: 112 |
This is your classic reward par 4. Whether choosing a driver or an iron, the main objective here is to avoid the two water hazards.
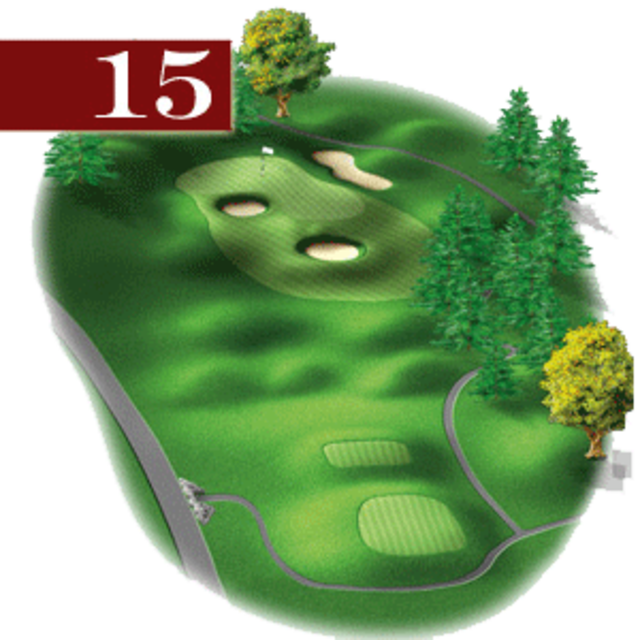
| Hole 15 |
|---|
| Par: 3 | Blue: 125 | White: 113 | Red: 192 |
| Junior Gold: 91 | Junior Blue: 62 |
The last par 3 on the inward-nine gives you the best oppurtunity to make birdie. Failure to avoid any of the bunkers around the green will result in a very tough par.
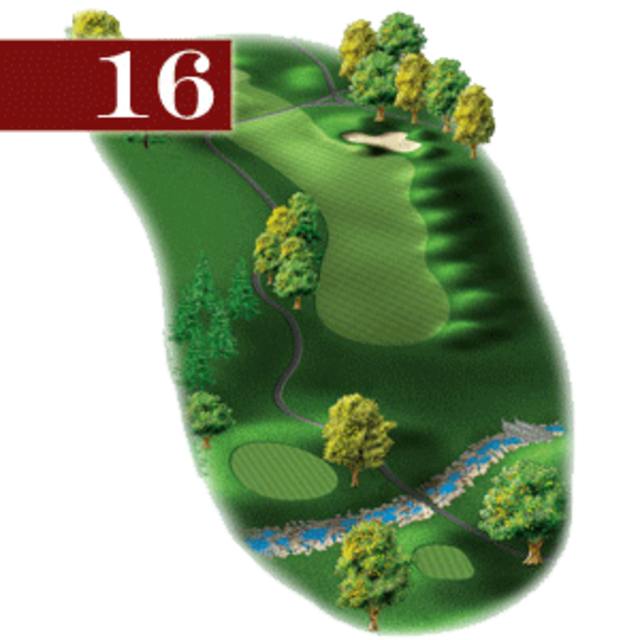
| Hole 16 |
|---|
| Par: 4 | Blue: 353 | White: 325 | Red: 300 |
| Junior Gold: 225 | Junior Blue: 122 |
This dogleg left par 4 offers another scoring oppurtunity. Avoiding the large fairway bunker will leave a short iron to a small, undulating green. An approach shot with creativity is rewarded here.
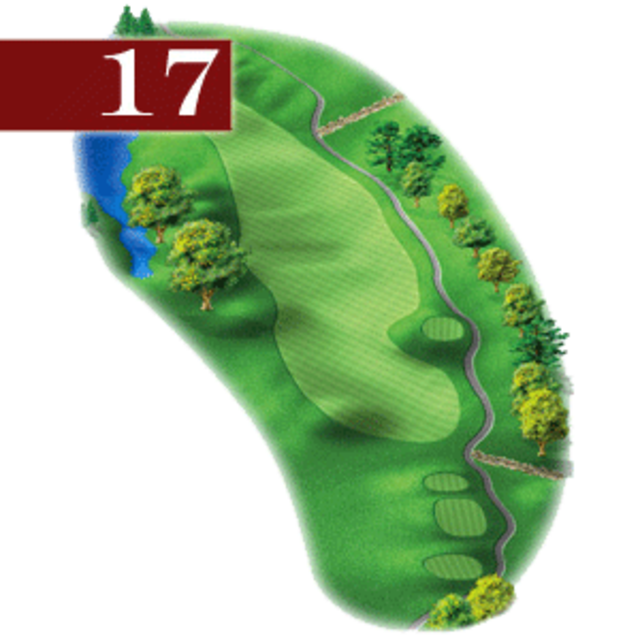
| Hole 17 |
|---|
| Par: 4 | Blue: 361 | White: 336 | Red: 222 |
| Junior Gold: 214 | Junior Blue: 132 |
Favor the right-side of the fairway on this pictureesque, downhill par 4. Tee shot will funnel to the middle of the fairway leaving a short approach. Proper club selection is needed for this long, narrow green.
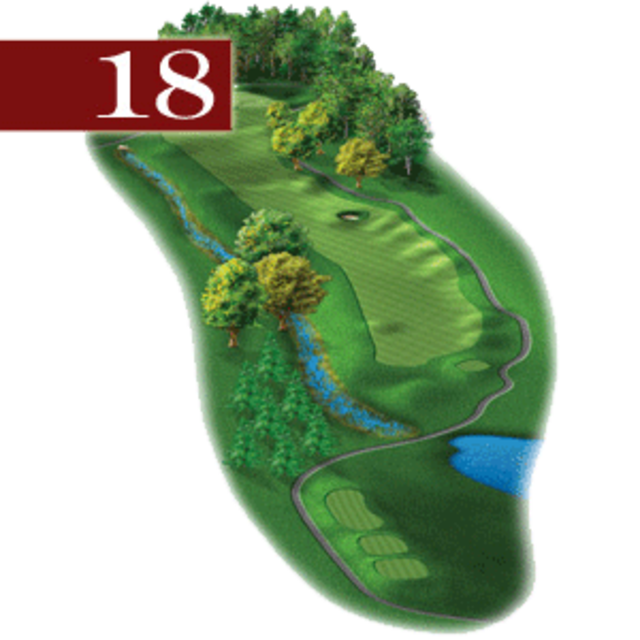
| Hole 18 |
|---|
| Par: 5 | Blue: 533 | White: 492 | Red: 378 |
| Junior Gold: 311 | Junior Blue: 164 |
It's time to let the big dog eat. This long, uphill par 5 requires three accurate golf shots to reach this green in regulation. Par is a great way to finish your round here.